| Précédent Ajouter un objet | Parent Ajouter un objet | Sommaire | Suivant Ajouter des formes prédéfinies |
Si nous cherchons dans la doc ici on trouve cet exemple :
1 2 3 4 5 6 7 8 9 10 11 12 13 14 15 16 17 18 |
import bpy # Define the coordinates of the vertices. Each vertex is defined by 3 consecutive floats. coords=[(-1.0, -1.0, -1.0), (1.0, -1.0, -1.0), (1.0, 1.0 ,-1.0), \ (-1.0, 1.0,-1.0), (0.0, 0.0, 1.0)] # Define the faces by index numbers. Each faces is defined by 4 consecutive integers. faces=[ (2,1,0), (0,1,4), (1,2,4), (2,3,4), (3,0,4)] me = bpy.data.meshes.new("PyramidMesh") # create a new mesh ob = bpy.data.objects.new("Pyramid", me) # create an object with that mesh ob.location = bpy.context.scene.cursor_location # position object at 3d-cursor bpy.context.scene.objects.link(ob) # Link object to scene # Fill the mesh with verts, edges, faces me.from_pydata(coords,[],faces) # edges or faces should be [], or you ask for problems me.update(calc_edges=True) # Update mesh with new data |
Et comme c'est un exemple simple (pour une fois) et officiel, ça fonctionne.
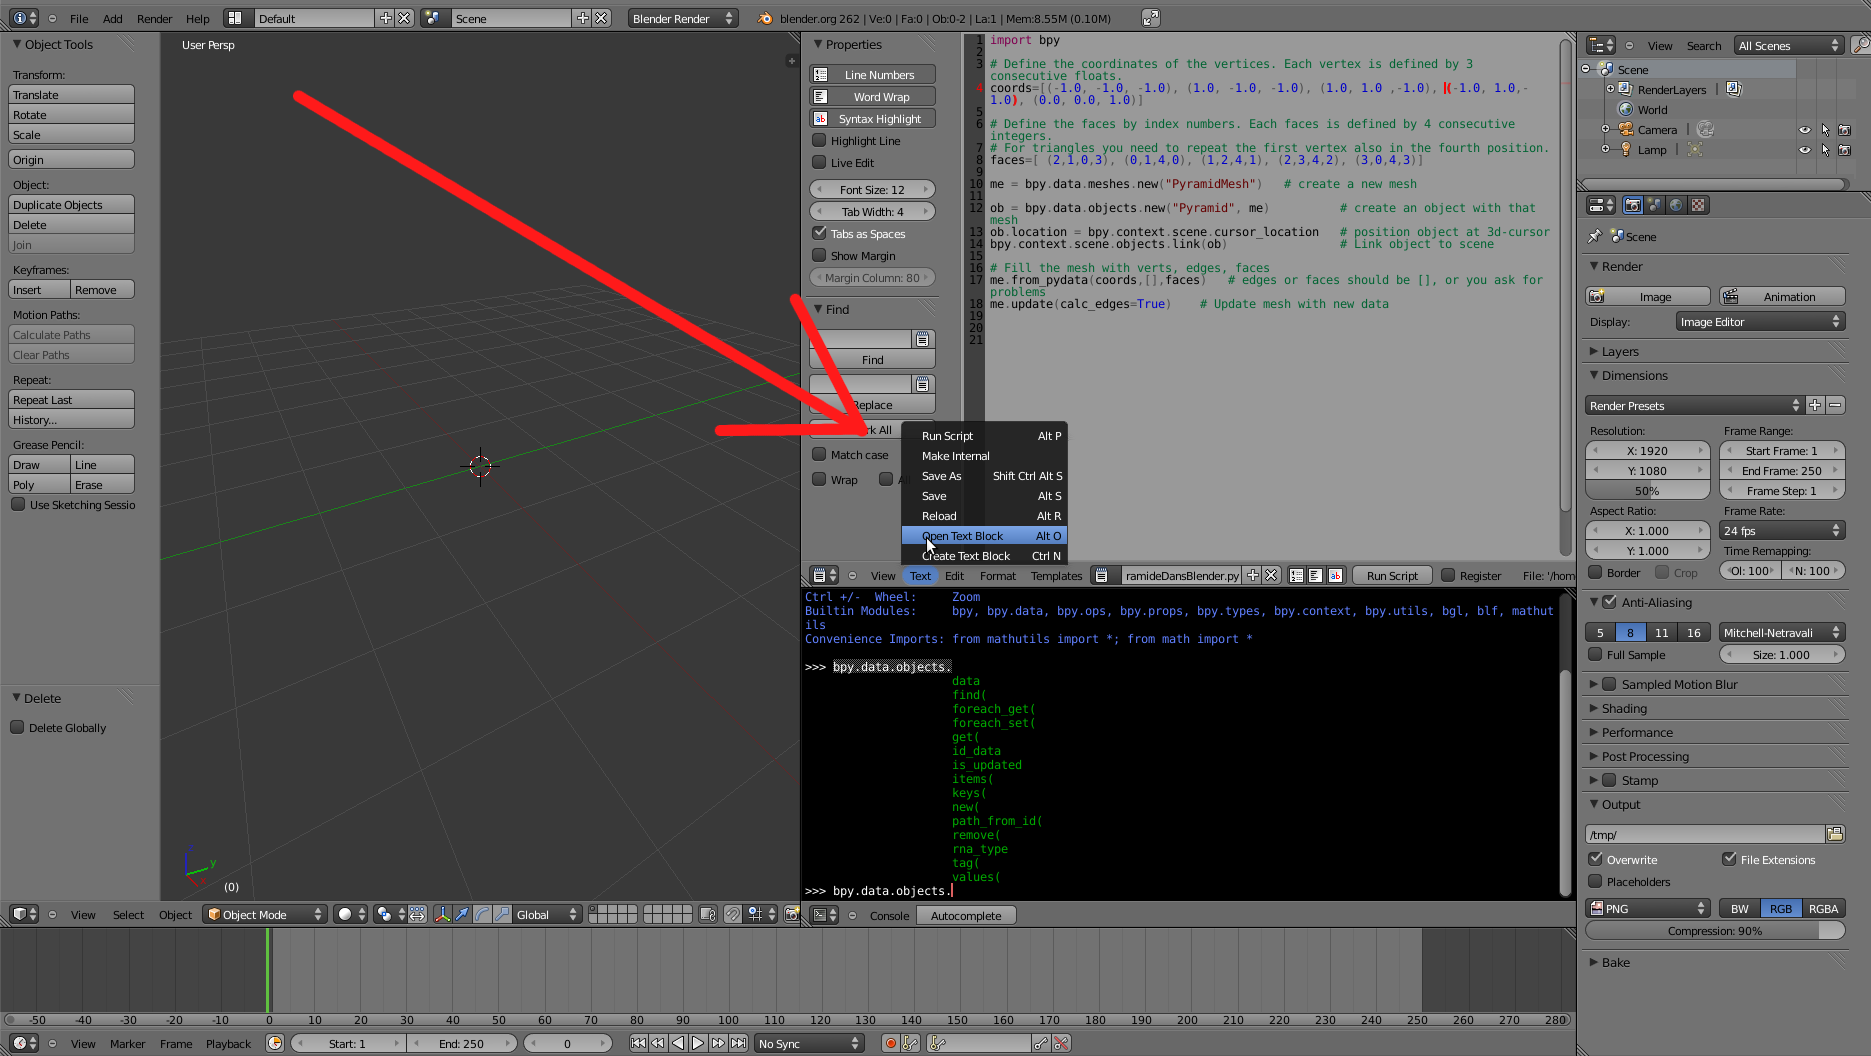
On ouvre d'abord le fichier :
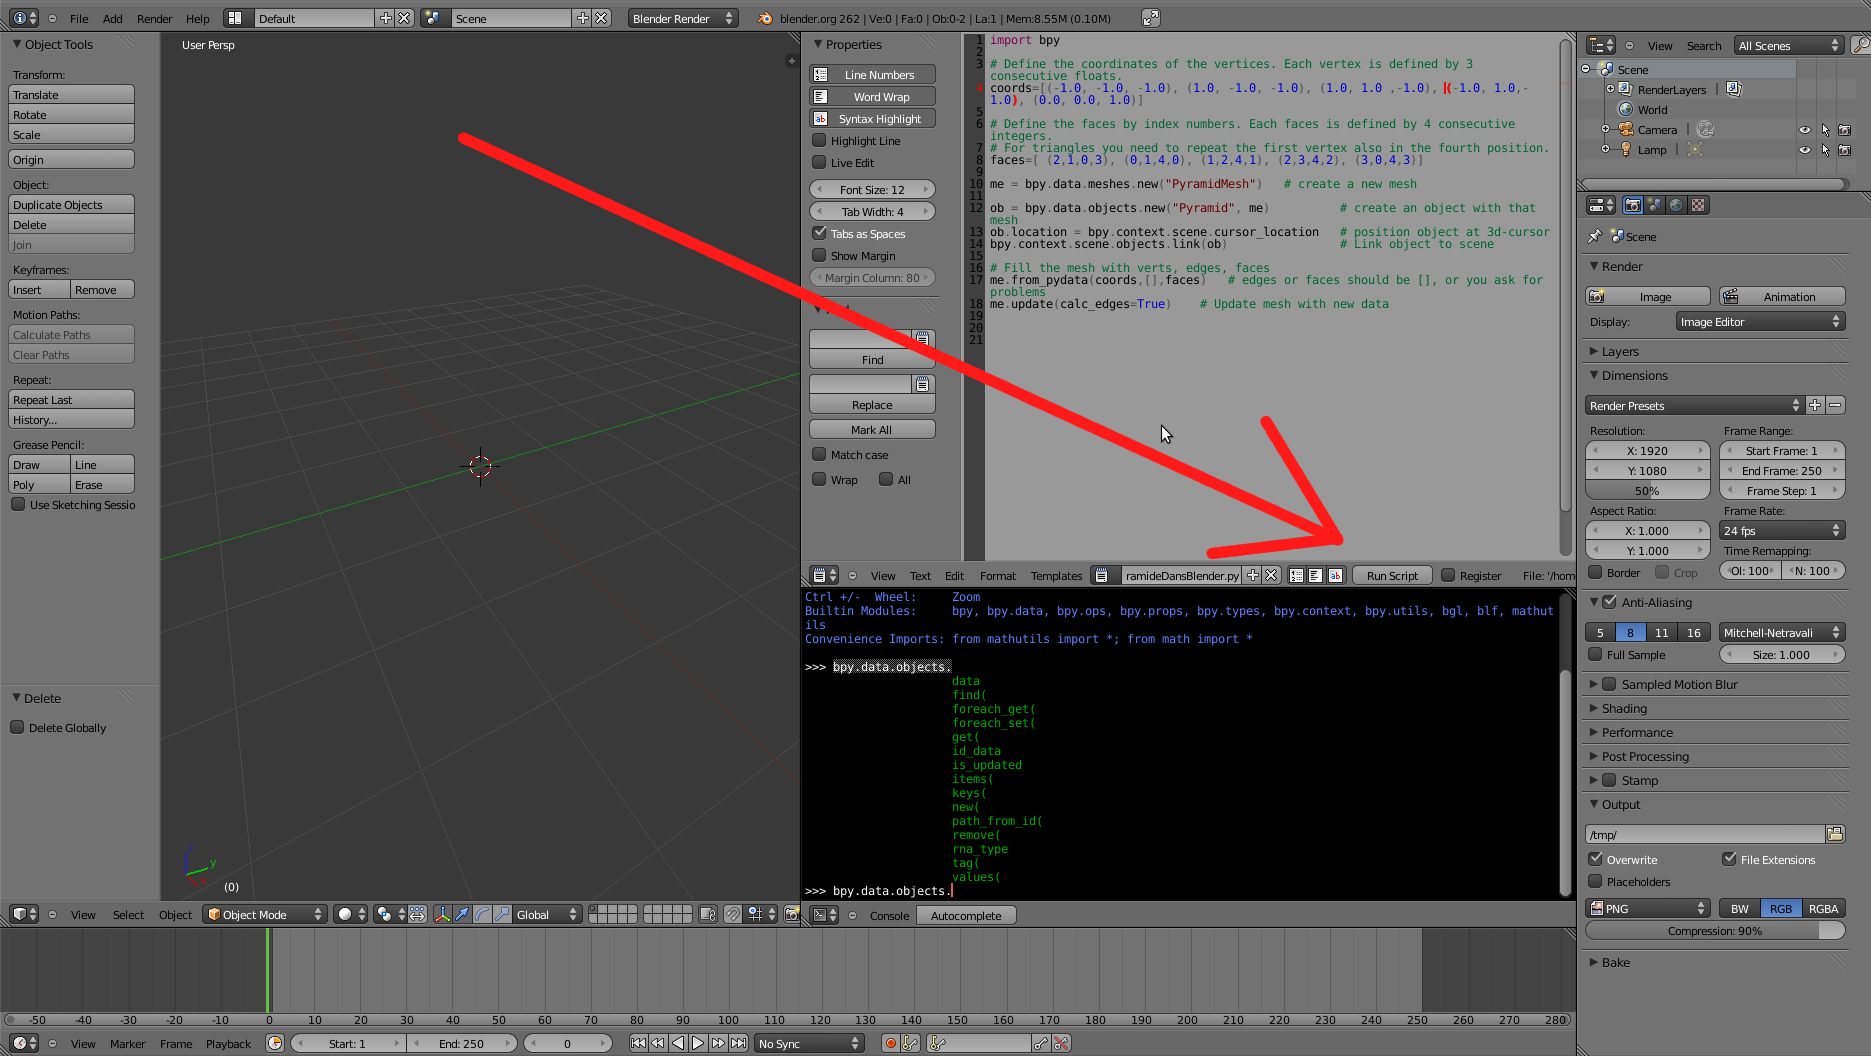
On suite on clique sur run script
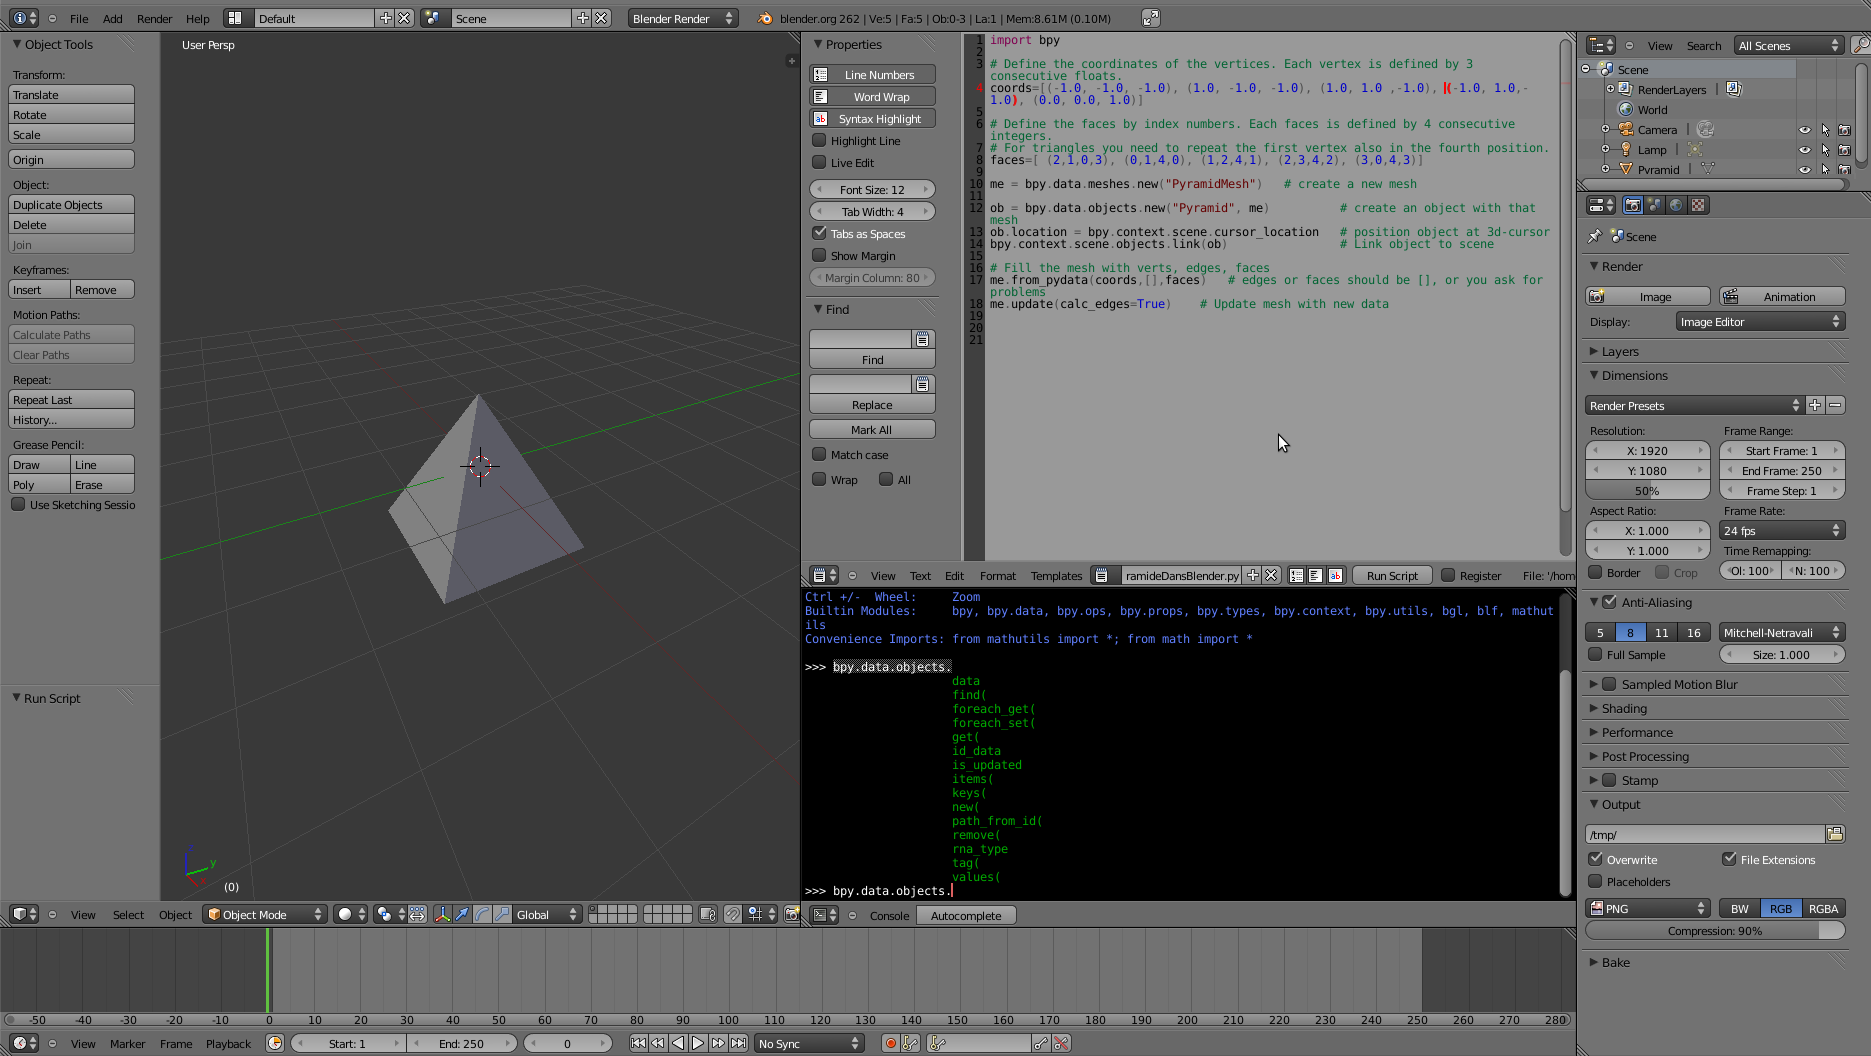
Et on a notre pyramide qui apparaît :
Maintenant, nous somme près pour faire des choses plus intéressantes.
| Précédent Ajouter un objet | Parent Ajouter un objet | Sommaire | Suivant Ajouter des formes prédéfinies |